Tyuning Nails Slider Stickers – Hearts, Candies, Flowers, and Text №137
Key Features: Sliders with "Love" Text, Flowers, and Candies
- Glossy, eye-catching effect
- Compatible with various shades
- Thin transparent film base
- Two-layer printing for enhanced clarity
- Water-based application
- Easy to apply and secure
- Wide range of designs
- Size: 7 × 10 cm
An easy way to create a stunning Valentine's Day manicure without requiring hand-drawing skills. The foil patterns add shine to nails, creating stylish accents and transforming a simple design into something original and eye-catching.
Design & Compatibility
- Slider design №137 from Tyuning Nails pairs well with various gel polish shades.
- Looks great on dark, light, pastel, and bold gel polish bases.
- Easily combines with glitter, rhinestones, stamping, and other decorative elements.
- Can be applied on all nails or used as individual accents.
Material & Application
- Made of thin transparent film with a paper backing.
- Flexible material, resistant to tearing—easily repositioned without sticking to fingers or curling.
- Can be used with gel polishes, bases, gels, and nail extensions.
Print Quality & Effects
- Two-layer printing for enhanced clarity, richness, and depth:
- First layer: Base color.
- Second layer: Shadows, outlines, and accents for a more defined and expressive design.
Why Choose Tyuning Nails Slider №137?
Ideal for quick, high-quality nail designs without the need for detailed hand-painting. Even beginner nail technicians can create professional-looking nail art effortlessly.
How to Apply
- Application method depends on preference:
- Cut out the desired design and immerse it in water or moisten it with a sponge to separate it from the backing.
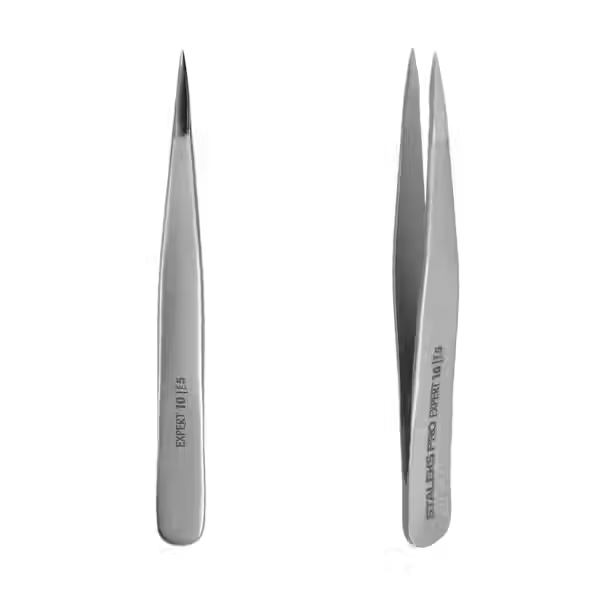
- Transfer the pattern using tweezers or a stamping tool, creating a delicate manicure featuring hearts, gifts, text, flowers, and candies.Slider Design (Nail Stickers) №137 by Tyuning Nails – Application Guide
- Prepare the nail surface as usual and apply a colored base coat.
- Select the desired slider design and cut out the necessary element to fit the nail size.
- Separate the design from the backing – place the cutout on a damp cotton sponge or submerge it in water. Carefully slide it off the white backing using tweezers.
- Attach the sticker to the nail and smooth it out using a silicone brush, ensuring it lays flat without wrinkles or air bubbles.
- Important: Avoid pressing the design directly against the nail edges—leave 1-2 mm of free space around all sides, especially near the free edge, to prevent top coat lifting. Ensure the nail surface with the sticker is dry—you may lightly cure it under a UV/LED lamp if needed.
- Apply the top coat in 1-2 layers, fully covering the nail plate. If needed, slightly level the surface before curing in a UV/LED lamp for 60-90 seconds.
- Finish the process by moisturizing the cuticle area with cuticle oil.


